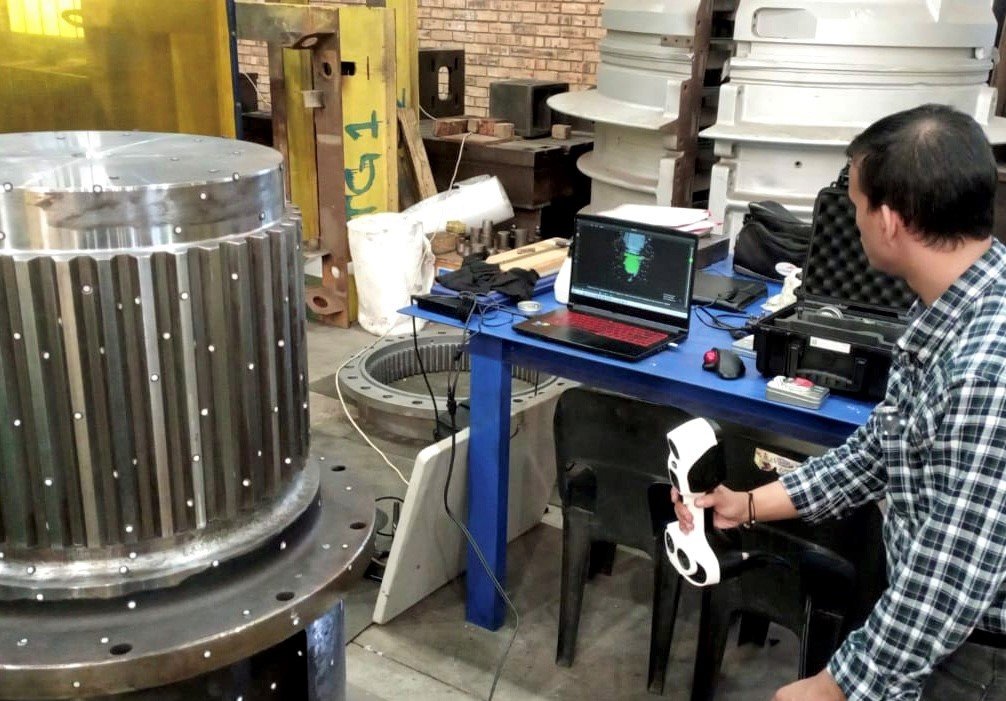
Unlock the Power of 3D Scanning for Reverse Engineering in Metrology.
Ever wondered how companies manage to recreate complex components or improve existing designs without starting from scratch? The answer lies in reverse engineering, and the introduction of 3D scanning has revolutionized the process. Below I explore the value of 3D scanning for reverse engineering in metrology and how it can benefit your business.
The introduction of 3D scanning, particularly laser scanning, has revolutionized the reverse engineering process. 3D laser scanners use advanced technology to detect thousands of surface points in just a few seconds, enabling faster and more precise data extrapolation. This technology streamlines the reverse engineering process by accurately capturing the object's surface shape and dimensions, which are then used to create a digital 3D model. This model serves as the basis for analysing the object's design, identifying areas for improvement, and reconstructing the object with enhanced features. In essence, 3D scanning has not only increased the efficiency of reverse engineering but has also significantly improved the accuracy and quality of the final product.
3D laser scanning brings greater efficiency to metrology than manual tools like callipers, verniers and height gauges, due to its efficiency accuracy in capturing 3D data. This results in a detailed point cloud which can then be used to create an accurate digital model of the object in CAD software.
Compared to manually creating a model with traditional methods, this is more efficient, allowing for quicker identification of discrepancies and easier optimization of the object's performance. Ultimately, 3D laser scanning significantly reduces the time, costs and effort needed to generate precise 3D models.
The Value of 3D Scanning for Prospective Clients:
Improved Precision: 3D laser scanners measure every point on the object surface with high accuracy, ensuring precise calculations and superior final designs.
Reduced Manual Intervention: Laser scanning eliminates the need for traditional manual measurement of the object, reducing errors and making the reverse engineering process more efficient.
Time and Cost Savings: Faster completion times, along with reduced labour intensity, results in significant time and cost savings, enabling businesses to invest resources in other essential areas.
Efficient Redesign and Prototyping: 3D scanning allows for easy redesigning and virtual simulations of products, eliminating the need for physical prototyping and reducing the trial-and-error period.
3D scanning has proven to be a game-changer in the world of reverse engineering and metrology. By offering improved precision, reduced manual intervention, significant time and cost savings, and efficient redesign and prototyping, it has become an indispensable tool for businesses seeking to maintain a competitive edge. If you're looking to enhance your reverse engineering capabilities, now is the time to embrace the power of 3D scanning technology.

